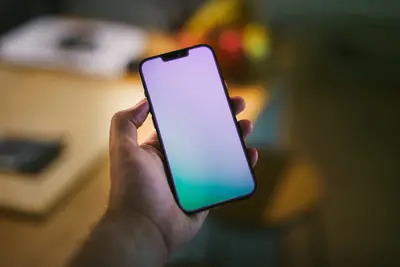
The right video editing app can turn raw property footage into scroll-stopping content in under 30 minutes. The best app for you depends on your skill level, budget, and how much time you want to spend editing. For most real estate agents, CapCut (free) or Adobe Premiere Rush ($9.99/month) will handle everything you need. According to NAR’s 2026 media survey, listings with video receive 403% more inquiries than listings without, and 73% of sellers say they are more likely to list with an agent who offers video services. You don’t need a film degree to produce effective real estate video. You need the right tool and a simple workflow.
This guide covers the best options at every price point, organized by skill level, along with a repeatable editing workflow you can use on any app.
Beginner: CapCut (Free)
If you are new to video editing, CapCut is the best place to start. It is completely free, available on iOS, Android, and desktop, and includes features that paid apps charge for. The interface is intuitive enough that most agents produce their first polished video within an hour of downloading it.
Key features for real estate agents include auto-captions (critical, since 85% of social media video is watched without sound), a library of royalty-free music, text overlay templates, and one-tap filters. CapCut also includes templates specifically designed for property walkthroughs and listing announcements. You can export in multiple aspect ratios: 9:16 for Reels and TikTok, 16:9 for YouTube, and 1:1 for Instagram feed posts.
The biggest advantage of CapCut is its template system. You can find real estate-specific templates, drop in your clips, and have a finished video in 10 to 15 minutes. For agents posting 3 to 5 Reels per week, that efficiency matters. For a deeper dive into video strategy, check out our real estate video marketing guide.
Beginner: InShot ($3.99/Month)
InShot is the best option for agents who want slightly more control than CapCut without a steep learning curve. At $3.99 per month (or $14.99 for a lifetime purchase), it is extremely affordable. InShot excels at quick, mobile-first editing. You can trim, merge, and rearrange clips with drag-and-drop simplicity.
InShot’s standout features include picture-in-picture (useful for adding a small camera-facing video of yourself over property footage), speed controls, and a solid selection of transitions. It also handles aspect ratio changes smoothly, allowing you to switch between vertical and horizontal formats without re-editing your entire project.
The limitation is that InShot is mobile-only. If you prefer editing on a desktop or laptop, you will need to look at the intermediate or advanced options below. But for agents who shoot and edit entirely on their phone (which is roughly 62% of agents creating video content, according to a 2026 Inman survey), InShot is a strong choice at a minimal price.
Intermediate: Adobe Premiere Rush ($9.99/Month)
Adobe Premiere Rush bridges the gap between simple mobile editors and professional desktop software. It works on both phone and desktop, syncs projects across devices, and includes features like multi-track editing, color correction, and motion graphics templates. At $9.99 per month, it is a reasonable investment for agents producing video regularly.
Rush’s biggest advantage for real estate agents is its integration with the Adobe ecosystem. If you already use Photoshop or Lightroom for photo editing, Rush fits naturally into your workflow. It also includes Adobe Stock audio, giving you access to a library of licensed music tracks that won’t trigger copyright strikes on social media.
The learning curve is moderate. Expect to spend 2 to 3 hours getting comfortable with the interface, but most agents are producing polished videos within their first week. Rush handles auto-captions, color grading, and multi-format export with professional-quality results. For agents posting listing videos to YouTube and social media simultaneously, the multi-format export feature alone justifies the subscription.
Intermediate: iMovie (Free, Apple Devices)
If you are an Apple user, iMovie is a genuinely capable free option that many agents overlook. It is pre-installed on every Mac, iPad, and iPhone, and it includes features like green screen compositing, split screen, and cinematic stabilization that you would pay for elsewhere.
iMovie’s trailer templates are particularly useful for real estate. They provide Hollywood-style editing structures (complete with title cards, dramatic music, and transition effects) that you can populate with your property footage. A 60-second listing trailer created in iMovie looks significantly more polished than a basic slideshow, and it takes about 20 minutes to produce.
The main limitation is platform exclusivity. iMovie is Apple-only, so Android and Windows users are out of luck. It also lacks some advanced features like multi-cam editing and advanced color grading. But for agents working within the Apple ecosystem, iMovie delivers surprising value at zero cost. According to Apple’s own data, over 34 million users actively use iMovie, and real estate content creators represent one of the fastest-growing segments.
Advanced: DaVinci Resolve (Free)
DaVinci Resolve is a professional-grade video editor that is completely free. That is not a typo. The free version of Resolve includes the same color grading tools used on Hollywood films, advanced audio editing, visual effects, and multi-track editing with no watermarks and no export limitations. It is the most powerful free video editing software available in 2027.
The trade-off is complexity. DaVinci Resolve has a steep learning curve, and the interface can feel overwhelming for beginners. Expect to invest 10 to 15 hours learning the basics before you are comfortable producing content efficiently. However, if you plan to make video a central part of your marketing strategy (and you should), that investment pays for itself.
Real estate-specific advantages include Resolve’s color grading tools (which can make interior footage look warm and inviting), noise reduction for videos shot in low light, and professional audio tools for voiceovers. The software runs on Mac, Windows, and Linux. For agents who want to produce content that looks like it came from a professional videographer, Resolve is the tool to learn. For professional-quality results without the editing time, you can also explore our videography services.
Advanced: Adobe Premiere Pro ($22.99/Month)
Adobe Premiere Pro is the industry standard for professional video editing, and for good reason. It handles everything from quick social media clips to full-length property tour videos with broadcast-quality output. At $22.99 per month, it is the most expensive option on this list, but it is also the most capable.
Premiere Pro’s advantages include seamless integration with After Effects (for animated titles and graphics), Audition (for audio cleanup), and the broader Adobe Creative Cloud. If you are producing weekly listing videos, neighborhood tours, and market update content, the efficiency gains from this integrated workflow justify the cost.
The software includes AI-powered features like auto-reframe (which intelligently crops horizontal video to vertical for Reels and TikTok), speech-to-text captioning, and color match tools. According to Adobe’s 2026 data, Premiere Pro users produce content 40% faster using these AI features compared to manual editing workflows.
This is the right choice for agents who have made video a primary marketing channel, produce content daily or near-daily, and want maximum creative control. For most agents, the intermediate options provide sufficient capability at a lower cost. To see how video fits into a broader content strategy, read our guide on social media for real estate.
What to Look for in a Real Estate Video Editing App
Regardless of which app you choose, there are five features that matter most for real estate video editing.
Auto-captions. This is non-negotiable. 85% of social media video is watched on mute, and videos with captions receive 40% more watch time on average. Every app on this list includes auto-caption functionality, but the accuracy varies. CapCut and Premiere Pro currently have the most accurate speech-to-text engines.
Multiple aspect ratios. You need 9:16 for Reels, TikTok, and Stories. You need 16:9 for YouTube and MLS. You need 1:1 for some Instagram feed posts. The ability to switch between these formats without re-editing is essential.
Music library. Licensed, royalty-free music is important for staying compliant on social platforms. Apps with built-in music libraries (CapCut, Rush, Premiere Pro) save you from hunting for tracks on separate licensing sites.
Trim and split tools. The core of real estate video editing is cutting out dead space, rearranging room sequences, and trimming clips to the right length. Fast, precise trim tools make the difference between a 20-minute edit and a 45-minute edit.
Text overlays. Adding room labels (“Primary Bedroom,” “Chef’s Kitchen”), feature callouts (“New Roof 2026”), and pricing information directly on the video increases engagement and provides context for viewers watching without sound. Check out our roundup of the best cameras for real estate social media to pair with your editing app.
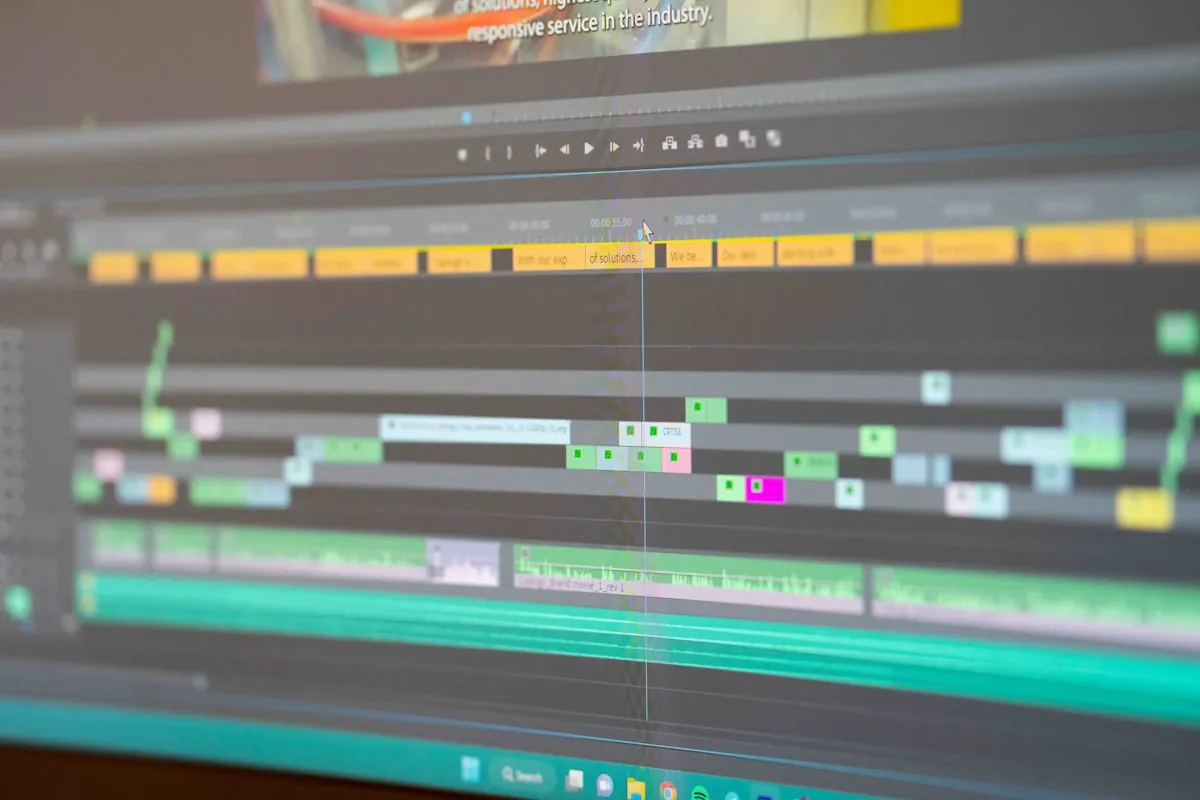
A Simple Editing Workflow for Any App
Here is a repeatable 6-step workflow that works regardless of which editing app you use. Once you have it memorized, you can edit a property video in 20 to 30 minutes.
Step 1: Import and review. Load all your clips into the app. Do a quick pass to identify the best take of each room and delete anything unusable (shaky footage, clips where you bumped into furniture, shots that are too dark). This takes 3 to 5 minutes.
Step 2: Arrange by room. Place clips in a logical walkthrough order. Start with an exterior or establishing shot, move to the entry, then flow through the home the way a buyer would experience it: living areas, kitchen, bedrooms, bathrooms, outdoor space. End with the best feature (the view, the backyard, the rooftop).
Step 3: Trim. Cut the first and last second of every clip (this is where camera movement is usually roughest). Trim each room clip to 3 to 5 seconds for a Reel or 5 to 10 seconds for a longer YouTube video. Tight cuts keep viewers engaged.
Step 4: Add music. Choose an upbeat, modern track that matches the property’s vibe. Luxury listings get something cinematic and slower. Starter homes get something bright and energetic. Keep the volume at 20 to 30% of full so it doesn’t overwhelm any voiceover or ambient sound.
Step 5: Add captions and text. Enable auto-captions if there is speaking. Add room labels or feature callouts as text overlays. Include the address, price, and your contact information on the opening or closing frame.
Step 6: Export. Export in 1080p at minimum (4K if the platform supports it). Export in the correct aspect ratio for your target platform. Save a copy in 9:16 and 16:9 so you can post to both Reels and YouTube from the same edit session. The entire process, from import to export, should take 20 to 30 minutes for a standard property video.
Common Mistakes to Avoid
Over-editing. Adding excessive transitions, filters, and effects makes your video look amateur, not professional. The best real estate videos use simple cuts between clips with minimal (or zero) transitions. Let the property speak for itself.
Ignoring audio. Background noise, wind, and echo can ruin an otherwise beautiful video. If your footage has poor audio, either add a voiceover in post-production or use music to cover it. 68% of viewers say poor audio quality is more distracting than poor video quality, according to a 2026 Wistia study.
Making videos too long. For social media, keep property Reels to 15 to 30 seconds. For YouTube listing tours, aim for 60 to 90 seconds unless the property is exceptional. Attention spans are short, and shorter videos consistently outperform longer ones in engagement metrics.
Forgetting the hook. The first 1.5 seconds of your video determine whether someone keeps watching or scrolls past. Start with your most dramatic shot: the skyline view, the open-concept living area, the stunning kitchen. Never start with a boring exterior shot of the front door.
The right editing app is the one you will actually use consistently. Start with CapCut or iMovie, learn the basics, and upgrade only when you hit a genuine limitation. The most important thing is not which app you choose. It is that you are creating video content at all.